- File Selection Mode
- Selecting Images in the Image Viewer
- Copying Files
- Drag and Drop
- AirDrop Files
- Share Files
- eMail Files
- Bulk Rename - Add text to filenames
- Bulk Rename - Find and Replace
- Bulk Rename - Add Indexes / Counter
- Bulk Rename - Rename with Dates
- Bulk Rename - Rename using EXIF Data
- Rotate Images
- Convert Images
- Create Contact Sheets
- Rate Photos with XMP
- Remove GPS from Photos
- Edit IPTC Properties on Photos
- Slideshows
- Create Custom Tasks
- Monitor a Folder for a Keyword and Download Hourly
- Download PDFs from the Last 7 Days
- Trim PDF Pages
- Change IPTC Properties on Images in Bulk
- Rotate Images in Bulk
- Automated Backup of Video Files from a Chosen Folder
- Automate Backup and Deletion of Files Older than a Chosen Date
- Remove GPS from Multiple Photos
- Convert Images in Bulk

Editing Images in FileBrowser Pro for Mac
This guide explains how to edit images in FileBrowser Pro for Mac, including rotating, flipping, cropping and resizing photos directly within your folders on macOS.
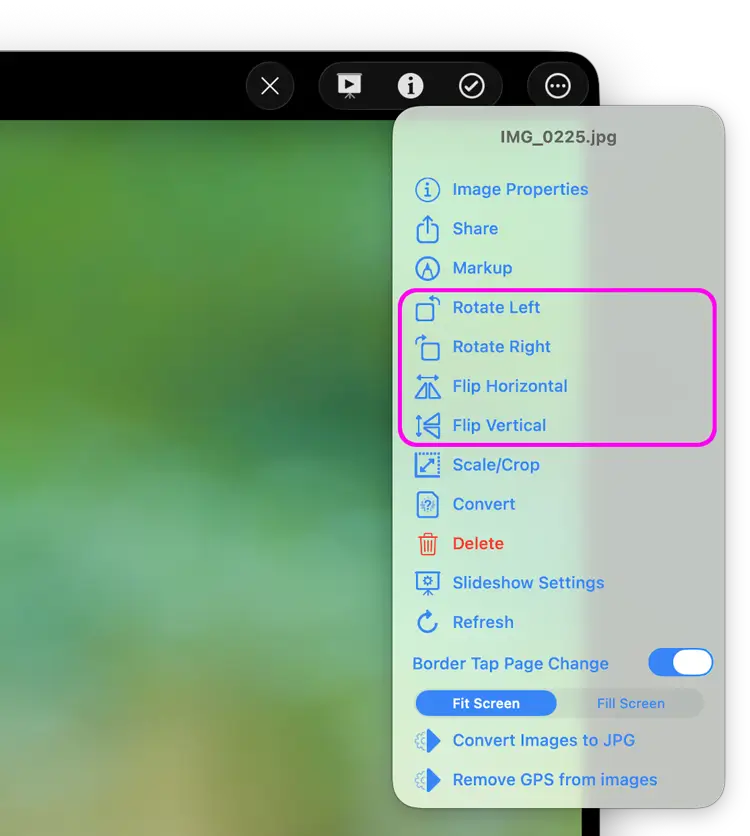
Rotate an Image
To rotate an image, open an image then click the file actions menu and choose one of rotation options available.
Flip an Image Horizontally or Vertically
To flip an image, open an image then click the file actions menu and choose one of flip options available either vertical or horizontal.
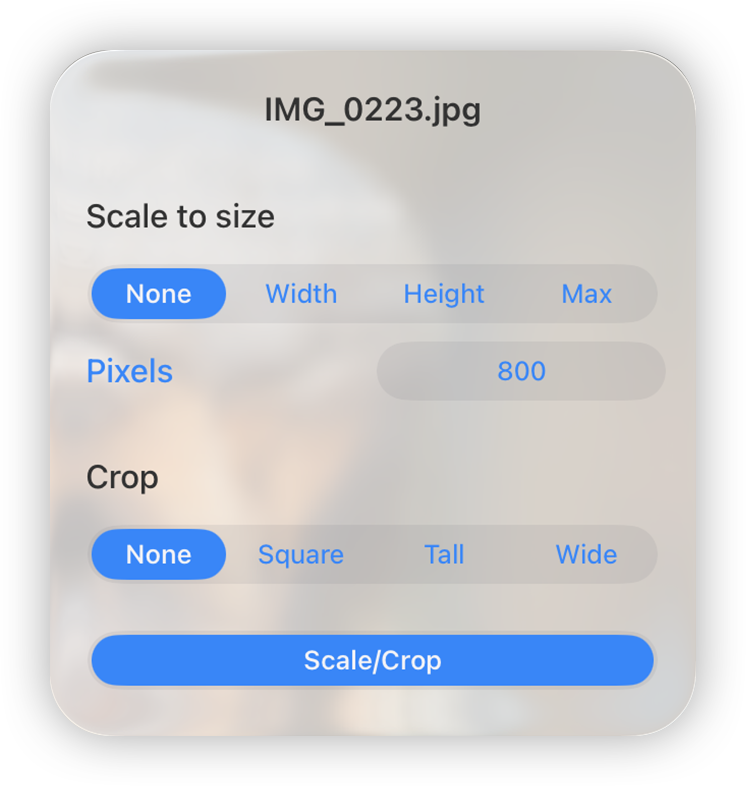
Scale & Crop
Scale an Image to a Specific Size
You can scale the image to a set size by setting the axis and designating the size in pixels.
Crop an Image Using Presets
You can crop the image to one of the presets, selecting each option will give you a preview.
Note: Images in the Photo Library need to be copied elsewhere before they can be edited.
RAW photo formats cannot use the Rotate, Flip, Convert, Scale and Crop options.

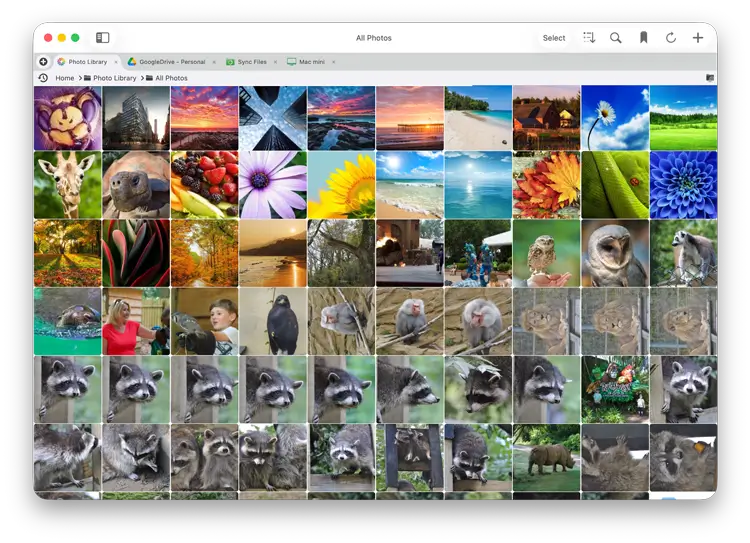
Accessing macOS Photos App
You now have access to the macOS Photos app (Previously iPhoto). Just click the "Photo Library" location on FileBrowser for Mac's home screen.
Note: Photos in the Photo Library need to be copied elsewhere before they can be edited or renamed.
Import from macOS Photo Library
- Open the folder where you would like to import the photos then click the file actions menu and select "Import from Finder".
- Select "Photos" in the left hand menu and navigate to your photos you would like to import.
- Select a single file by clicking it, select multiple files by holding down "CMD", once you have selected your files click "Open".